
Several years ago, I purchased Academy's 1/72 scale P-51D Mustang from our local model store. The seat, stick, and radio equipment had already been assembled (but not painted) making the cockpit more than half complete when I got it. But I got it for 50% off so ... no complaints! It ended up on the buried in my stash and languished there. After a recent move, my stash was turned over and it made it's way to the surface.
I had not originally expected to do a model build post so I'm a little thin on some earlier photographs.
The cockpit was detailed nicely with details molded into the fuselage. A few extra bits were also provided to add to the sidewalls including a hose and shifter knob-thingy (yeah I don't know the technical terms for stuff). Not that I am a stickler for accuracy, but two issues stood out to me. One was that the radio equipment in the kit did not match any references I found.

The other was that the decal provide for the instrument panel was so far off from the Mustang instrument panel that it actually barely resembled an aircraft instrument panel of any kind! Fortunately, the instruments on the mold were prominent enough that a dry brush was enough to make them stand out enough. Not perfect but better than the decals.

The cockpit was started with a base coat of Stynylrez black acrylic primer. On top of that, I did a fairly light coat of AK Gen3 AK11859 US Interior Green on the seat and internal framework as well as the sidewalls and floor of the cockpit, allowing the black undercoat to provide lowlights and shadows through the base coat.
The radio equipment and details on the sidewalls were picked out with Vallejo Model-Ait 71-057 Black. A light dry brushing of silver on the edges of the radio equipment added dimension and character. Additional sidewall details were touched up with black, white, yellow and red.


I typically build out of the box and don't do much scratch building but took the opportunity to take some very fine copper wire and added it to the radio equipment behind the pilot's seat. Since it matched no references I kind of "winged" it as far as placement goes. Each cable was painted either white or red.

After the cockpit was painted the halves were glued together, the wings and stabilizers were glued on with Tamiya's Extra-Thin cement. Seams were filled with Loctite Super Glue and sanded. I prefer to use super glue for seams as it doesn't shrink, and it's ready for sanding within minutes as opposed to waiting hours or even days for other fillers to cure.
Once glued and sanded, the canopy was masked, and any missing panel lines and rivet details were re-scribed. The areas that were NOT going to be painted metallic were then primed with Stynylrez Black primer. The tail was then treated to a couple of coats of Akan Red 73058.
The cowling in front of the cockpit was then mottled with lighter colors, white and yellow. It doesn't really matter who's you use or even what particular shade. The goal is, of course to create some variation in the final tone of the top-coat of the anti-glare paint. Over that the base coat of the anti-glare paint was applied (AK Gen3 11913 A-19F Grass Green). After the paint had dried a coat of Vallejo's Matt Varnish was applied to the painted areas so that they could be masked for further painting.
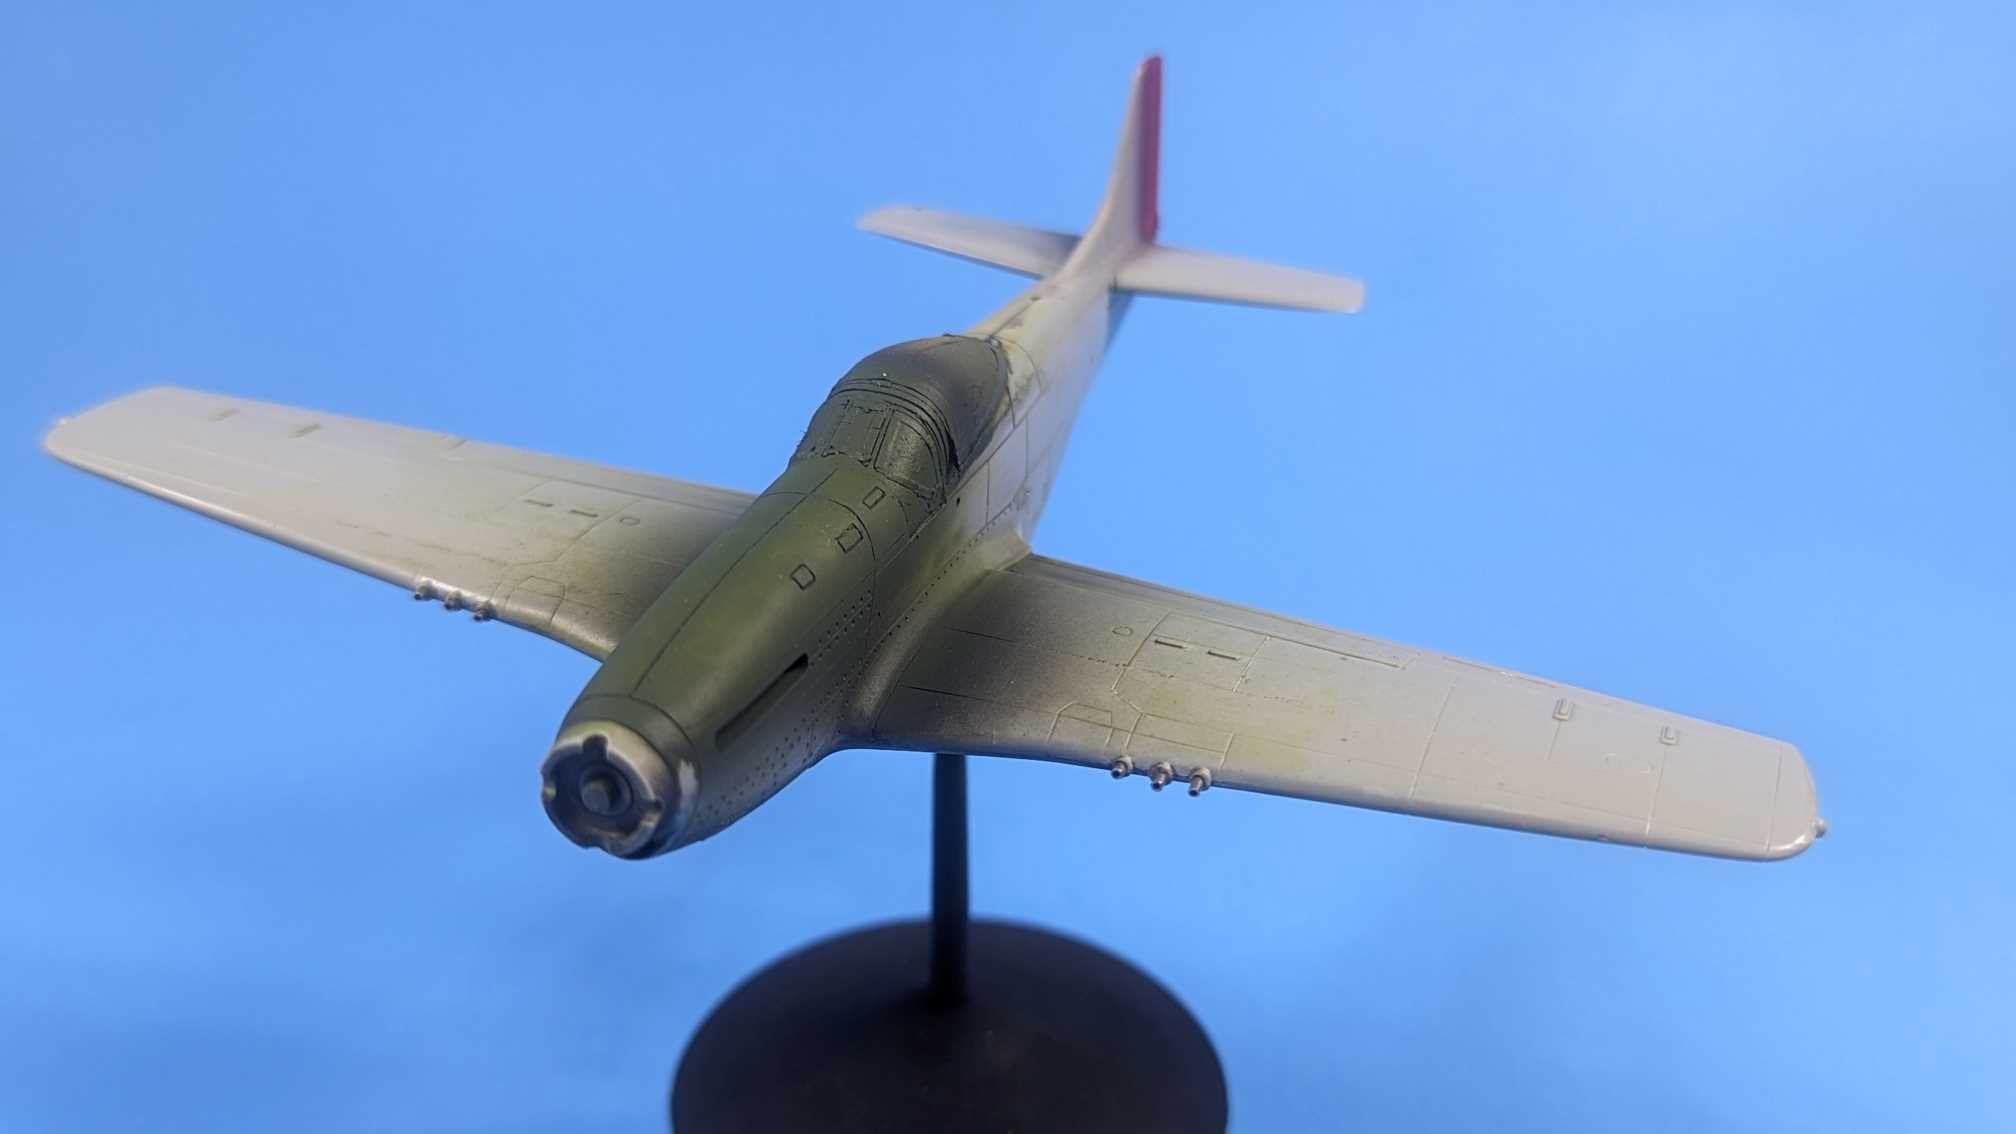
Also out of character for me was the removal of the molded wing mounted guns. I attempted to replace them with blunt tip hypodermic needles. I used some micro drill bits to drill out the holes and used what I believe were 20-gauge needles. You can get them on Amazon for about $10USD or so. These were cut to size using a razor saw and super-glued in place. Not as easy as you'd think, and they did not turn out as even as I would have liked but not bad for a first attempt.

The next step will be to add the white "chin" under the nose. Hopefully I'll get some better photos to accompany that post.
Until then ... then.
No comments:
Post a Comment