I have just finished building a Academy's 1:72 scale Focke-Wulf 190A-6/8. What a beautiful plane!
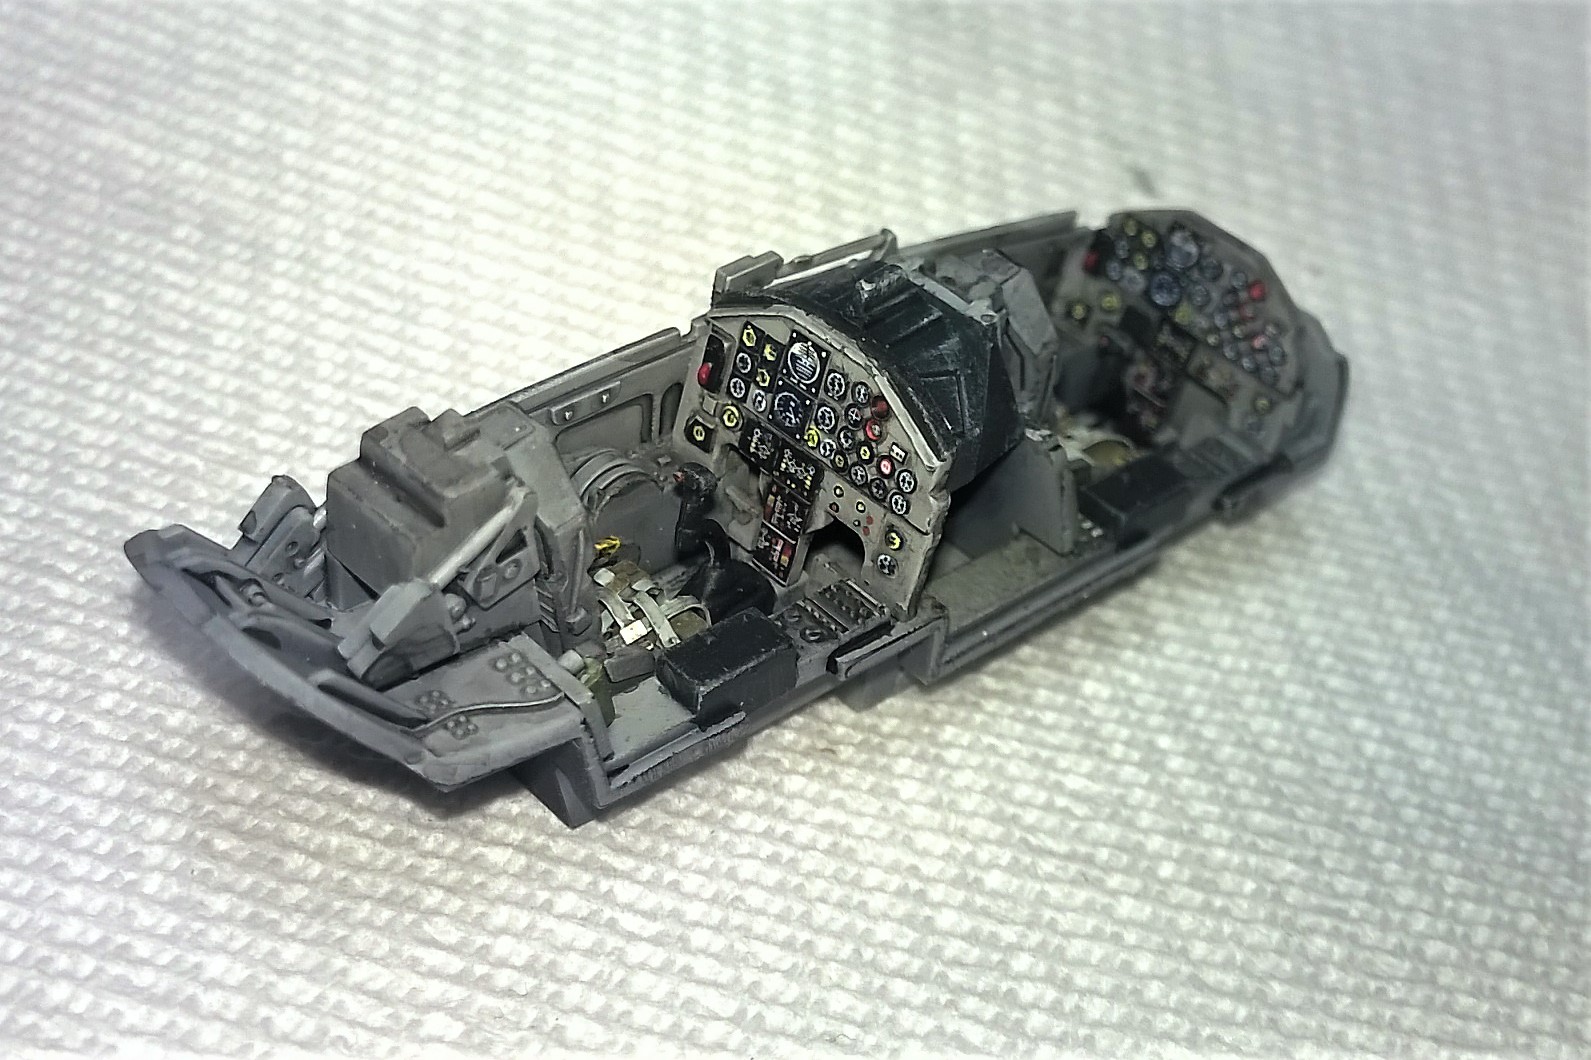
The build was a challenge with inaccuracies in paint scheme and color, missing antennae, poor painting and some obvious impatience in several of the joins. For Academy's part, the cockpit is utterly devoid of detail and I am pretty sure that the seat is way too deep in the cockpit. If there was a pilot sitting in it, eye-level would still be BELOW the instruments!! Aside from the cockpit however the recessed panel lines and rivet detail is exciting to see on such a small scale, and this finished plane fits easily in the palm of even the smallest of hands!! I don't know why but I love how tiny this model is.
The kit comes with decals for a couple of schemes.

I chose to model my project after a color call-out I found online (I think it's from Eduard), although as I post this I realize that I did not get all the decals on, painted the spinner the wrong colors, and forgot to "mottle" the vertical stabilizer ... Oh Well ... can't wait to start the next one!!

As a modeler, my skill level is probably middling at best and maybe even less than most on average. While my Fw190A would never win, or probably even be allowed admission into competition, it represents some encouraging progress on my part as a modeler. For those reasons I am quite pleased with the results, also it's just a beautiful plane!
I tried a few new techniques for this build. Probably the one I was looking most forward to, was my first attempt at an oil wash. After watching David Damak (PLASMO) apply oil washes, it seemed to add a smooth almost texture that I really liked; not satin but not entirely flat either. I have some UBER cheap oils and "odorless" thinner I purchased at Michael's a while back. What I noticed when mixing the wash however, was that the oil seemed to almost "flake"; so much so that you could actually see the pigment suspended in the thinner. Regardless, I applied it anyway and hit it with a hair dryer. It actually worked better than I expected, considering the flaking. The one thing I noticed however, is that when I applied varnish the next day, there appears to be some areas where the varnish either did not settle or was chipped off. Nothing HUGE, but you could notice them under even a cursory examination. I am not sure if this was because I did not wait long enough to apply the varnish. I know oils take longer to set up so, next time maybe I'll give it a week.
I also attempted a chipping effect using the sponge method. I did not have much luck with this as it looked like exactly what it was ... paint applied with a sponge. It seemed to recede a bit though when the oil wash was applied. I was going to re-apply it but decided against making it worse, since I was pretty happy with the results thus far, the payoff wasn't worth the risk.
And the final "new" technique I tried was trying to add "dirt" to the wheels. Typically I see folks using some AK or Vallejo earth effects or something. Being on a budget however, I discovered that my pastels did the trick reasonably well. I was happy with the "dirt" effect it created on the tires so ...
One lesson that finally sank in during this build is that for weathering to be successful it needs to have a legitimate source. Simply putting dark streaks on a wing doesn't read properly if it doesn't have a logical source. The machine guns for example, provide a source for smoke and powder streaks stretching out behind them on the wing. Oil leaks, weeping panel lines are other possible sources, but be sure to understand where they come from before putting weathering on. If you're putting "random" streaking on the plane then what you're doing will probably not communicate well to the viewer.
Anyway ... there is so much about this project that I would like to take another crack at, I think I will have to find another. I really enjoyed working on this one though and look forward to the next. The biggest improvement I want to make I think, is to clean up and create more accurate camouflage; more distinctive greens so that you can actually see the pattern and the underside should be more blue. Plus the shape of the camo was a little hacky and strayed from the reference. Also, perhaps, to find a way to incorporate more detail into the cockpit and generally clean up some of the construction flaws.
Anyway ... here are some pics of the final result.
 | |
 |  |
 |  |
 | |
One final note on the kit ...
I know that lots of kit manufacturers do not include Swastikas in their kits and I understand that in many countries the sale of or distribution of Swastikas is illegal but I also find it disappointing to be "missing" parts as important as that. Academy, like many others does NOT include the Swastikas for the vertical stabilizer in the kit so I had to purchase third party decals to complete the kit.